Wednesday, April 3, 2013

Whimsy Stamps and Scrapper's Delights = A Great Blog Hop!!!


Our Janice who is the owner at Scrapper's Delights is now one of the proud artists at Whimsy Stamps!!!  Fantastic job Janice and congrats on your position with a great company! You should have gotten here from Tracey's blog! 
You will find Scrapper's Delights Paper Crafts digital stamp collection made exclusively designed for Whimsy Stamps on the 1st of each month!
Check out some of Janice's new designs available on April 3rd.  Here is the link at 
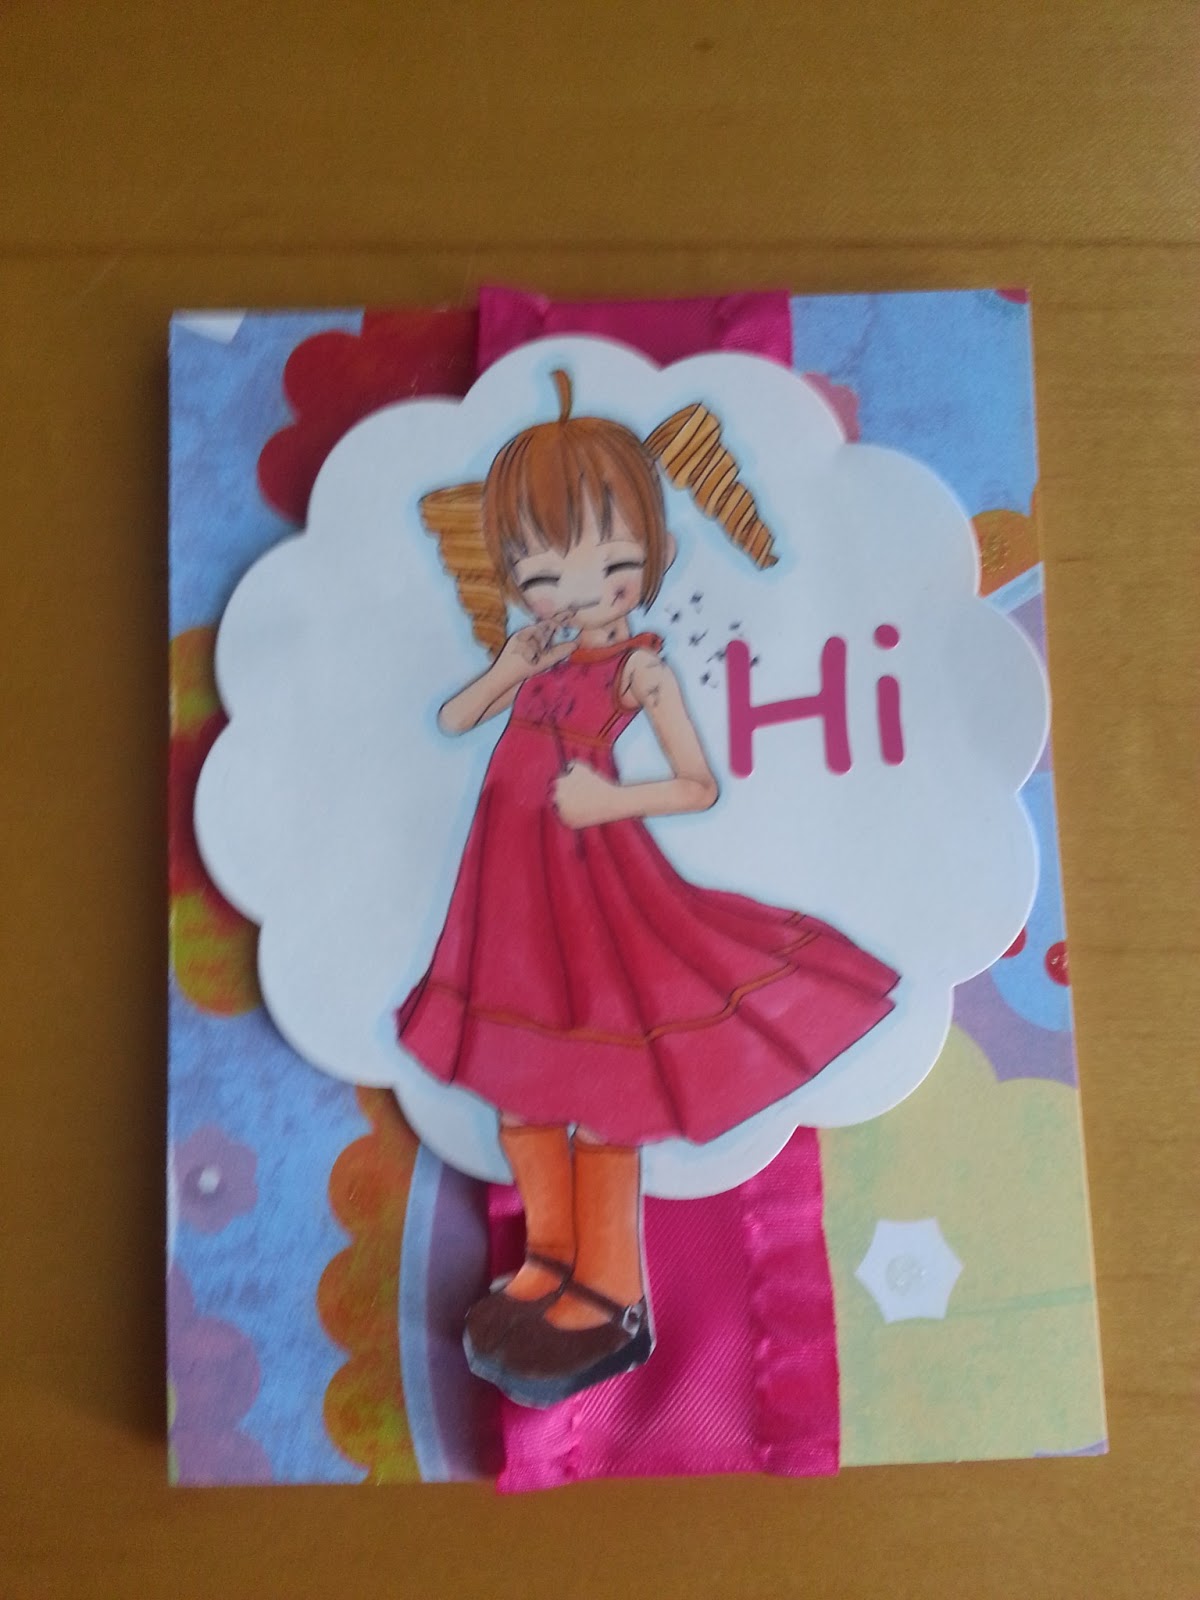
Now this is what I did with one of these super sweet images! When I first saw this image I thought: "She looks just like she is saying "Hi"!

The next stop on the hop is Carolyn's Blog! If you get lost on the way you can start at the beginning..here!  Here is a coupon to get you started with our new products!

And don't forget to leave a comment! 

Cheers and Happy Spring
Laurie


Tuesday, March 19, 2013

Easter Blog Hop


Hi Everyone! If you are here you should have gotten here from Tracey's Blog, if not or if you got lost on the way you can start over at the Scrapper's Delights Blog. I love this time of year, Spring just makes me so happy! The tulips, daffodils and cherry blossoms are all in bloom. For my project I used the Rabbit Parker 1 digital stamp. I wanted to recreate the colored version that Janice sells in her shop and from looking at the original I figured out how she did it. the shadows were created with a base of Copic Marker Cool Grey 1 and BV000. This combination made the perfect shadowing for the image. I used some brighter pinks than Janice did but I think she came out pretty darn cute! Don't forget to leave a comment on each of our blogs, one of us has the secret code to get a free digital stamp, and that DT Member will be picking the winner!  Each of our design team members will be picking a winner, so make sure you stop at all of their blogs and leave comments. We love to hear from you!  Your next stop will be Trisha's Blog
The Hop goes until the 23rd so make sure you participate...we would love to see your name announced on Monday as one of the winners.
And Just for stopping by... here is an Easter Coupon Just for You!!
Cheers and Happy Spring
Laurie

PS: We still have some spaces open in our design team.

Saturday, March 16, 2013

Erin Go Bragh


Happy St. Patrick's Day everyone!  Being Irish I love this holiday. I will be spending the weekend in the San Francisco Bay Area, my daughter has dance competitions there.  Due to an injury my coloring skills have been horrible lately so I had to come up with something different to do for today's post. This is one of the things I love about Scrapper's Delights Digital Stamps. You can get them as stamped images and colored graphics. So cool! The one I used above is from the Leprechaun 2 Digital Set. I printed it out three times and layered parts of the image to give it dimension, her face, hair, shoes and the shamrocks. I then put glitter on the shamrocks and glitter pen on the shoes, her top, lips and eyes.  I layered the card with dark green, light green shamrock paper and then the white card stock with the image on it.  I love how she came out and I wish the glitter pen showed up more in the picture.  You should give this technique a shot, its a lot of fun and I am sure you will love the effect.

Have a safe and fun St. Patrick's Day!
Laurie

Tuesday, March 5, 2013

Hi Peeps. Welcome to our Blog Hop. You should have gotten to my blog from Leona's Blog. If you didn't and would like to join the Blog Hop just go to the Scrapper's Delights blog and start at the beginning.

If you have been to my blog before you know that my style is very eclectic, clean and simple and really very girly.  Yes I admit it. I am a girly girl.  So in that spirit check our some of  my favorite projects.

I really love going back to when I first started on this design team and realize how much better I have gotten over they year.
As you have noticed I have no rhyme or reason to how I embellish. Although I usually never put more than three on a project. I don't want to take away from the digi. Oh just so you know..I don't consider ribbon as an embellishment. Its usually a requirement on my projects. = )  Also I love my Copic Markers, so much so that I have become a Copic Certified Instructor.  I love it and its so much fun to use Scrapper's Delights digi's for my classes.

Prizes....Prizes...Prizes

And here is my part of the code for the $50% off!


Also we have some prizes to give away!
Make sure you leave a comment on each blog stop along the way,
because if your comment is chosen you have
the chance to win a Scrapper's Delights Image!
The hop will continue through Saturday the 9th
and some time on Sunday we will announce the winners!


 I hope you stick around an check out the next designer Valou. She is one of our new team members. So don't forget to welcome her and leave her comments. = )

Laurie

Friday, February 8, 2013


Hi My Peeps!
There has been much buzz about shadowing techniques on the web these past two weeks. Lets take a look at two techniques that have been the most talked about.
I used the middle little girl from the Summer Breeze collection from Scrapper's Delights. You can look at them here.

The first technique is the Blue Outline technique. Its very easy to do. Before you color in your image you will outline it with a very light blue marker, water color or colored pencils. I used my B000 marker from Copic.

On the second image I did used the Dot Shadow technique. All you do is simply make dots around the image after you have colored her in. The mistake I made on this image is I put down the dots before I chose my paper.  I should have stuck with just the blue, yellow and green. Once I had both images trimmed down and matted. I used them to make cards. Check them out and give these two techniques a try. I will be using both of them quite a bit, I think.
Its a beautiful day here in California and I am going to take myself outside and get some sun.
You all have a great Friday and an awesome weekend.

Cheers,
Laurie

Thursday, January 31, 2013

Shopping Anyone?


Hey Everyone,
How are you all doing today? Remember when you were a kid and you got sick and got to stay home from school? I had one of those days today, I spent the morning in bed with the flu, coloring with my Copics and watching Dr.Who.  What's with this whole Dr. Who thing? You just get attached to one doctor and then they change him....and you're like....what the heck? And you have to start the whole process over again. I am glad making cards is so much simpler than whizzing through time and space saving the world from the Daleks!! Let's take a look at the card I made today!

The first thing I did was choose my image. This one is from the Kyoko Loves to Shop set. She's new this month from Scrapper's Delights.  Isn't she adorable? Then I chose my paper, the patterned paper is from Lawn Fawn and the solid paper is from Bazzil.  I printed out two copies of Kyoko...one on the patterned paper and one of the white Copic paper. Then I fussy cut the dress out of the patterned paper. I colored in the image using my Copics. I thought she would be cute as a little blonde with blue eyes.  The Copics I used are E34, E23,E00,E000,R20,YR24,E21,R22,Y21,Y000, N0 and C7. After that I printed out the sentiment and die cut it out with one of my Sizzix dies. Then I put the card together. Added some brads and some buttons and as The Doctor would say "Its Brilliant!"

You all have a wonderful day and stay healthy!

Monday, January 28, 2013

Pink is the Color of the Day!


Hi everyone. Check out this adorable little girl from Scrapper's Delights! She is just one of the three little girls in the Summer Breeze collection that is making its debut this month. When I first saw them, I thought: Flower Girls!  I just love the cork screw pony tails on her and her sweet smile as she blows the fuzz off of a dandelion. The other two are just as sweet!!! Click on the link above and check out the set!
Today I used her on two cards. One hot pink and orange and one a soft baby pink with white accents.  I am not sure which one I like the best, because right now as I type this I am thinking...how cute would she look in yellow or baby blue?  That is the thing I love about digital stamps. I can print out a whole page of her or her and her little friends and experiment with color to my hearts content. Its like playing dress up!

Come back soon and see what else I have in store for you!

Laurie


Sunday, January 13, 2013

Ribbons and Ruffles Challenge


We are having a "Ribbons and Ruffles" challenge over at the Scrapper's Delights Challenge Blog

With having two little girls that are both very busy, a Copic Color Instructor career and being wife my life gets Pretty crazy. When I need to remember something I don't always trust my device to not lose the information. So I took this cute little purse sized notebook (6" x 4") and decorated it with Ribbons and Ruffles. I cut the patterned paper to (6" x 3 5/8"). This size fit perfectly and didn't interfere with the spiral binding, but allowed the paper to be butted up against the rings. I then glued this down with Helmar's 450 Quick Dry adhesive.


This little angel was created for Scrapper's Delights by our fearless leader, Janice. Her name is Homura and she is in the digital stamp pack called Homura/ Angel. You can get her here I colored her in with Copic Markers. I used the water color method with the Copic ink to do her wings. I then cut out on side of her and popped her wings onto the outside of the scalloped die, this allowed me to cut the white scallop circle around her. Then I matted her onto a pink scalloped circle. Then I glued this down onto the notebook.


When that was done I added the ribbon, ruffles and flowers. I now have a super cute notebook to write down all of the things I want to remember from what I need to buy for my next Copic Coloring class, to how many rows of stitches I need to secure the ribbon onto my daughter's pointe shoes. Its a handy little thing to just toss in your purse.  

Now that you have seen what I made....check out the Scrapper's Delight's Challenge Blog, where you can see what our designers have come up with, and also to show us what you can do with Ribbons and Ruffles.

Cheers,

Thursday, December 6, 2012

Lawn Fawn's CHA Winter Challenge


Lawn Fawn CHA Winter 2013 Challenge!


Hi everyone. If you have been on my Facebook page you will know that I love Lawn Fawn stamps. They have two new sets out this week...you so need to go check them out. You can see them here on the Lawn Fawn Blog!

Lawn Fawn is having a Challenge for CHA Winter and their Catalog.  I know, right?  So I made a Tri-Fold Card for this challenge. (Thank You Sandy, from Operation Write Home, for the tutorial and measurements!)  

This is the front of the card! I popped out the sun and the kites!

Now check out the inside!
The stamps are from the Sunny Skies set from Lawn Fawn. There are more stamps to this set.  I use every single one of them all the time! 

Have a great night everyone! 

Laurie

Monday, December 3, 2012

12 Days of Christmas Blog Hop

         Hi everyone, and welcome to the 10th day of the 12 days of Christmas blog hop.  You should have gotten here from Lisa's blog!
         So what I wanted to show you today is  a card I made in the shape of a door complete with measurements.  First thing I did was find a wreath digital stamp from my extensive digi file, that I liked, printed it out and colored it in with my Copic Markers. If you are the designer of this wreath please let me know so I can give you credit.

        After I had it all colored in, I added glossy accents to the berries and cut it out. I then colored another one of the ribbons and cut that out. I used pop dots to elevate the second ribbon to give it some dimension. Now for someone who used to design architectural interiors (pre-Mommyhood) the next part was really fun for me.  On a piece of graph paper I drew out a door and used the wreath to guide me in the sizing.


     Once I had the door drawn out I added the measurements. As you can see below I was pretty detailed with the measurements. Its the drafting training coming out. You won't need to be this detailed in your drawings. I find it helps when I do clean and simple projects though to have all the measurements pre-drawn.

 Once I had all the door panels cut out I inked the edges in a super dark brown ink so they would stand out as individual pieces.
 I put the door panels together and then used a brad as a door knob. I then added the wreath using more pop dots. I cut the dots in half so they would be half as tall as usual. I didn't want to give it too much height.  I then added the card front to the card base and it was done!


This is how it looks completed.


Please let me know what you think....leave a comment.
And don't forget your next stop on the blog hop is at Heather's blog.


Cheers,
Laurie

Friday, November 16, 2012

To Color Or Not to Color...

       Hi everyone.  I am sure at this point you have your Thanksgiving menu planned, your shopping list written and your "Black Friday" plans made.  Here at my house its total panic. I finally looked at the calendar and realized that Hanukkah is very early this year. Just three days after my 11 year old turns 12.  OMGosh I have just three weeks until Hanukkah.  I better get going. I need to find a short cut.  I need to get those presents wrapped and I need to get my gift tags made.  How am I going to do that???

     Lets talk about the digital stamps from Scrapper's Delights. Did you know that when you buy a stamp set from Scrapper's Delights you get not only an uncolored version but a colored version. I found my short cut!  I chose to use this little beauty on my Hanukkah gift tags.  Check her out here!  Since I have two little girls I knew that the chances of the tags surviving the gift opening frenzy where slim to none, I didn't want to spend hours making each tag.  I did want my gifts to be beautiful, complete with gorgeous tags.

    Well this is where I took advantage of the fact that at Scrapper's Delights gives you a choice to color or not to color!  I didn't color but I did embellish. Lets take a look at what I did on my tags.
Now this is what I did. After I added the sentiment underneath the digital stamp I printed her out and trimmed the tag down to size. Then I punched a hole where the button on her hat is and inserted a brad. I then put glitter pen on the brad and waited for it to dry. Once that was dry I cut out the slits for the ribbon that would be woven through the tag. When that was done I used my decorative corner rounder and jazzed up the corners a tad bit. Then I went over the white parts on the image with white puffed paint. This gave her some texture. I used glaze pen on her hair to brighten up that pretty red and on her eyes.  I then sponged a tiny bit of shimmer onto the rest of her dress. One the ribbon was woven through and tied I was able to attach her to the present.

What do you think of the outcome?  Let me know in the comments section.
You all have a fantastic Thanksgiving!!
Cheers,
Laurie

Wednesday, October 31, 2012

Happy Halloween


Hi everyone, as we crafters are apt to do...the day of one holiday we start planning our projects for the next! Sometimes during that process we make some design or technique choices that just don't work out!  Let's take that journey and see where I what I end up with. After that I have a funny story to tell you all. I am sure most of you can relate!
So let's take a look. I used the Autumn Nymph Image from Scrapper's Delights.

Step 1:  The first thing I did was print out the image twice.
This allows for any mistakes I may make in coloring. Most times while I am coloring in the minutest detail....that is when the dog decides to jump on my lap. So you can see I printed our little beauty out twice. I used Copic paper in my printer because that seems to work the best when using Copic Markers.


                                                              Step 2:


Well I decided that I wanted to do some inking and thought this shape would be perfect. But once I got the mask cut out I didn't think it worked so well. So on to the next! I chose a softer scalloped edge.


 Step 3: The Inking.

The photo on the left is my first attempt. What if I lightly went over the whole image. I was amazed at how little I liked the way it turned out. So then...Oooh I could use the cut out of the mask and use it to cover up the image and ink around it!

Step 4:

As you can see I liked it. so I matted the image and colored it in with my beloved Copic Markers. Then the next adventure was.. I had this beautiful image, colored, matted and glitter penned. What do I do with her now? Should I make a card? A Scrapbook Page? A Tag perhaps?  Then it hit me...Thanksgiving is coming up and with Thanksgiving comes food...lots and lots of food. And what do you do when you have a lot of people and a lot of food?  You create a Buffet!

                              Step 5:
After matting the image on a piece of golden card stock. I printed out the Pumpkin Pie sign and then inked the edges of that. Added a pretty brown bow and a Pumpkin Pie.

Ok so here is the Pumpkin Pie Adventure Story:
I ordered a beautiful pumpkin pie from our local grocer. The pie was beautifully decorated. I was so happy because I could get the pictures done ahead of schedule and in some outstanding lighting. Well I happily took this beautiful pie to the register to pay for it. At this point I handed the pie to the clerk and since the price tag was not on the top of the box the clerk flipped it over. Yes he took my perfect pumpkin pie and flipped it over. The shoppers in line behind me gasped. I was like "Seriously? You really just Seriously flipped my pie?"  So then I was thinking...OMG I have this beautiful pumpkin pie sign and no beautiful pumpkin pie.  So running to another store...I got this pumpkin pie...that is half the size of the first pumpkin pie, twice the money and didn't come decorated. So I had to figure out how to put the whipped cream on the pie!  How did I do?

Let me know and leave some love.  And get ready for that Thanksgiving Buffet!!  And you know where to get some beautiful images for your Buffet Table Signs....here at Scrapper's Delights

Cheers
Laurie